
HubSpot Custom Workflow Tips! How to Automatically Search for Postal Codes from Addresses
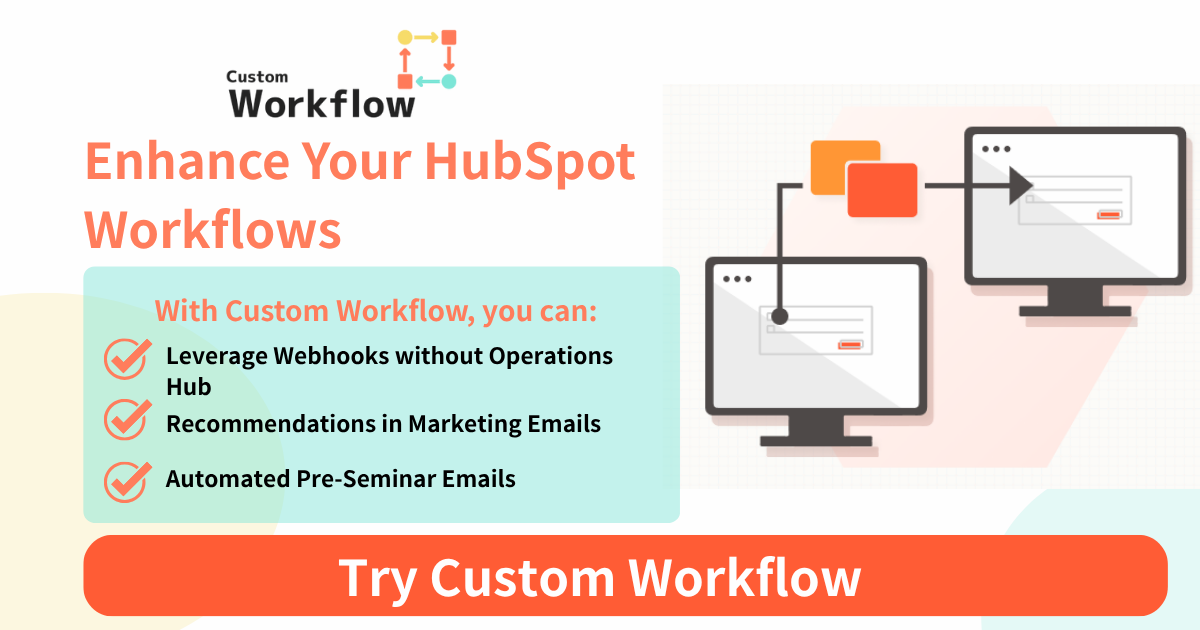
HubSpot workflows are powerful automation tools, but their potential expands even further when you add third-party custom workflow actions.
In this article, we will explain in detail how to use the convenient custom workflow action "Postal Code Search Action," which automatically searches for postal codes when address information is entered and supplements the data. We will cover its purpose and usage scenarios, following the video content step-by-step.
Demo Video


Detail
Purpose of this Action
Customer address information is vital data for marketing and sales activities, but data is often incomplete due to omissions in forms or manual entry errors. This "Postal Code Search Action" aims to solve the following issues:
- Reduce data entry effort: If you have the address information, you no longer need the manual hassle of looking up and entering the postal code.
- Improve data accuracy: It prevents human entry errors and automatically assigns correct postal codes, enhancing customer data quality.
- Improve operational efficiency: It automates data cleansing and supplementation tasks, creating an environment where staff can focus on their core duties.
Specific Usage Scenarios
This action is effective in various business situations.
- Improving Direct Mail (DM) accuracy:
By automatically assigning postal codes to address information obtained from forms, you can create accurate DM mailing lists. This reduces the risk of returns due to incomplete addresses and maximizes campaign effectiveness. - Efficiency in area marketing:
Based on accurate postal code data, you can segment customers living in specific areas and efficiently deliver region-limited campaigns and event information. - Automatic assignment of sales representatives:
You can build workflows that identify postal codes from new leads' addresses and automatically assign contacts to the sales representatives responsible for that area. - Efficiency in EC sites and logistics operations:
You can automatically supplement accurate postal codes as delivery destination data when shipping products, leading to the prevention of delivery errors and improved accuracy in shipping cost calculations.
Step-by-Step Configuration Guide
Let's look at the specific configuration method following the video content.
Step 1: Set the Workflow Trigger
First, decide the conditions under which this action should execute.
- Open the HubSpot workflow editing screen.
- In "Trigger enrollment for contacts," set the trigger that will start the workflow.
- In the video example, it is set to start when the value of the "Event Date" (イベント日) property changes.
Step 2: Add the Custom Workflow Action
Next, add the "Postal Code Search Action" to the workflow.
- Click the "+" icon on the workflow to add a new action.
- Scroll down the left menu in the "Choose an action" panel and click "Custome Workflow Starter" in the "Integrated apps" section.
- Select "Postal Code Search Action" from the list.
Step 3: Configure Address Information for Search
Selecting the action displays the settings panel.
- In the "Address" input field, enter the address information for which you want to search the postal code.
- In the video, a specific address, "6538 Nelson Ave, Burnaby, BC", is entered directly.
- Tip: You can also dynamically call address information saved in contact properties here. This allows you to search for postal codes from different addresses for each contact.
- Click the "Save" button when entry is complete.
Step 4: Publish the Workflow
Once the action configuration is complete, activate the workflow.
- Click the "Review and publish" button in the top right of the screen to turn the workflow on.
Step 5: Verify Action Execution Results
When the workflow is triggered and executed, the action runs. Results can be confirmed in the action logs.
- Open the "Action logs" tab on the workflow details page.
- Click "details" for the contact you want to check in the execution history.
- "Event details" will be displayed on the right side of the screen.
- Check the "Action outputs" section to see the action's execution result.
- In the video example, you can see that "LABEL" is post_code and "VALUE" is V5H 0C6, confirming that the postal code was correctly searched from the entered address. This data is available for use in subsequent HubSpot workflow actions. Please use it to update CRM data.
Summary
By using the "Postal Code Search Action," you can automatically add postal codes as data without the hassle of manual lookup, as long as you have address information.
This improves customer data accuracy and significantly reduces data entry efforts. Why not try this convenient feature, which contributes to efficiency across a wide range of operations from marketing to sales and logistics, in your HubSpot environment?
Source Code
HTML
CSS
Javascript
FAQ
No, it is not a standard feature. The feature explained in this article (Step 2) is a custom action that becomes available by installing a third-party app called "Custome Workflow Starter" in HubSpot.
No, it cannot. The "Postal Code Search Action" introduced in this article is a dedicated function for searching for a postal code (e.G., "V5H 0C6") from an address string (e.G., "6538 Nelson Ave, Burnaby, BC"). It does not include a feature to "search for an address from a postal code."
No, it is not saved automatically. As explained in Step 5 and the summary, this action only outputs the postal code as an "Action output." To save that value to a property, you must add a standard HubSpot action, such as "Set property value," after this custom action. In that action, you need to set the output value (post_code) from this action (using a token) to your desired destination property (e.g., "Postal Code").
Search
Related Template
Need Customization?
We can customize this sample to match your specific business requirements.
Book Free ConsultationGot a quick dev request?
Put it on Trello!Need a fix for HubSpot, CMS, or GAS? Post it on Trello.
Development Requests Here
Company Info
Name : SweetsVillage .Inc
CEO :
Tomoo Motoyama
Copyright ©SweetsVillage .Inc
