
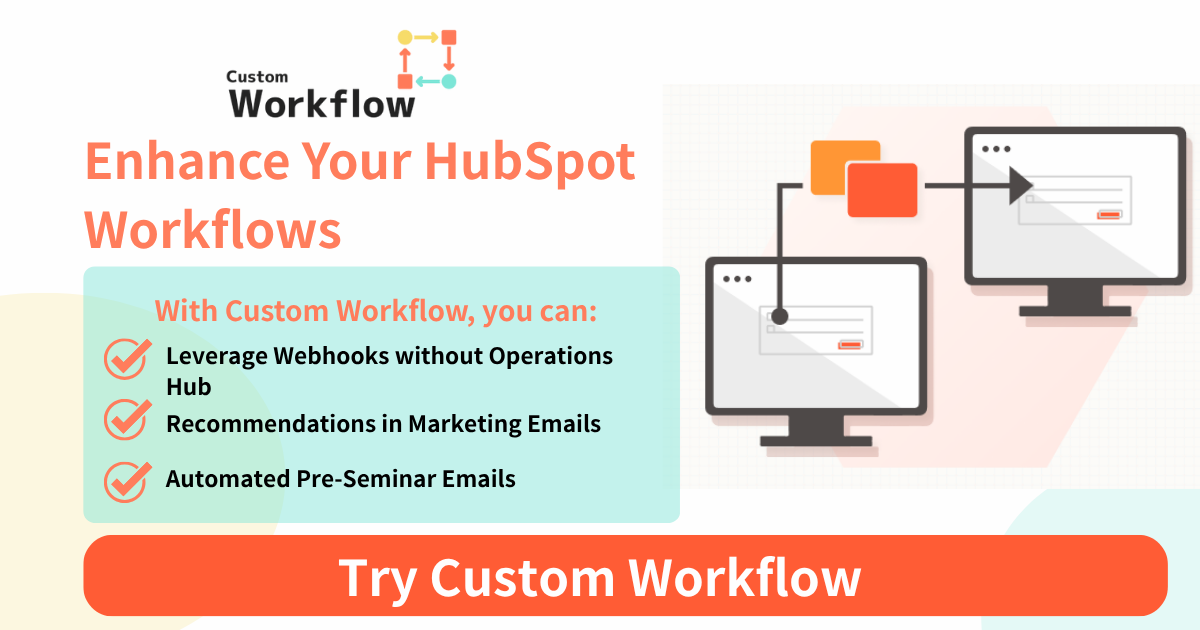
How to Bulk Update Multiple Properties in HubSpot Workflows (Using Custome Workflow Starter)
This article explains the purpose, use cases, and operational steps for the "Batch Property Update Action" feature, part of the third-party HubSpot app "Custome Workflow Starter."
Demo Video


Detail
Purpose
The primary purpose of this workflow action is to simultaneously set (update) the values for up to five different properties within a single workflow action.
In standard HubSpot workflows, updating multiple properties requires adding a separate "Set property value" action for every property you want to change. By using this custom action, you can complete multiple updates in one step, making your workflow construction and management much simpler.
Use Cases
This feature is ideal for situations where you want to update multiple pieces of information on a record at once, based on a specific trigger (e.g., form submission, stage change).
- Stamping Data: When a specific event occurs (like the "Event Date" update shown in the video), bulk-set values for multiple related properties (e.g., "Last Event Name," "Event Status," "Processed Date").
- Setting Default Values: When a new contact is created or added to a specific list, bulk-set initial values for multiple properties (e.g., "Sales Rep," "Lead Status," "Priority").
- Migrating/Copying Data: Copy the value from one property to another while simultaneously setting fixed values for other properties. (The "Value" field also supports property tokens).
Setup and Execution Steps (As seen in the video)
The video demonstrates a flow where an update to a contact's "Event Date" property triggers the "Batch Property Update Action" to set values for multiple custom properties (test1, test2, test3...).
Step 1: Check Workflow and Trigger
- The process begins in the workflow editor.
- The trigger (enrollment criteria) is set to activate when the "
Event Date" property value is changed.
Step 2: Add the Custom Action
- Click the "+" icon in the workflow to add a new action.
- From the action selection panel, choose "Custome Workflow Starter" from the "Integrated apps" section.
Step 3: Select the Action
- From the list of custom actions that appears, select "Batch Property Update Action."
Step 4: Specify Properties and Values to Update
- The configuration screen for "Batch Property Update Action" opens.
- Up to five slots are displayed (
Property 1andValue 1,Property 2andValue 2...). - Property: Select the property you want to update from the dropdown menu (e.g.,
test1). - Value: Enter the value you want to set for that property. You can enter fixed text (e.g., "test1_value") or use tokens to set the value from another property.
- In the video, values are being set for multiple properties like
test1,test2, andtest3. - After configuring, click "Save."
Step 5: Activate the Workflow and Confirm Execution
- The "1. Batch Property Update Action" is added to the workflow.
- Activate the workflow ("Workflow is On") and perform the action that meets the trigger criteria.
- Navigate to the "Enrollment history" tab and click on the execution history for the "test@tomotomo+test2@sweetsvillage.com" contact.
Step 6: Verify the Final Result
- The execution "Event details" will appear on the right side.
- You can see that the action executed successfully ("Successful").
- The "Action outputs" section displays details of which properties were updated to which values (
updated-properties) in JSON format. - Finally, returning to the contact's record screen and checking, you can confirm that the values set in the workflow have been correctly applied to the specified
test1,test2, andtest3properties.
Source Code
HTML
CSS
Javascript
FAQ
No, it is not a standard feature. The feature explained in this article is a custom action that becomes available by installing a third-party app called "Custome Workflow Starter" in HubSpot.
The biggest difference is the number of properties you can update at one time. With HubSpot's standard action, you can only update one property per action. In contrast, this "Batch Property Update Action" allows you to set or update the values of up to five different properties within a single action, which helps keep your workflows simpler.
Yes, you can. As explained in Step 4, the "Value" input field allows the use of property tokens (personalization tokens) in addition to fixed text (e.g., "test1_value"). This allows you to copy the value from another existing property or set a dynamic value.
Search
Related Template
Need Customization?
We can customize this sample to match your specific business requirements.
Book Free ConsultationGot a quick dev request?
Put it on Trello!Need a fix for HubSpot, CMS, or GAS? Post it on Trello.
Development Requests Here
Company Info
Name : SweetsVillage .Inc
CEO :
Tomoo Motoyama
Copyright ©SweetsVillage .Inc
